Introduction to Excel Headers

When working with Excel, headers are an essential part of organizing and presenting data. They help in identifying the columns and rows, making it easier to understand and analyze the data. Editing Excel headers can be necessary for various reasons, such as changing the column names, formatting the text, or freezing the headers to keep them visible while scrolling. In this article, we will discuss 5 ways to edit Excel headers to enhance your spreadsheet’s readability and functionality.
Method 1: Direct Editing

The most straightforward way to edit an Excel header is by directly typing in the header cell. To do this:
- Click on the cell that contains the header you want to edit.
- Type in the new header name or edit the existing one.
- Press Enter to apply the changes.
Method 2: Using the Header/Footer Tab

Excel provides a dedicated tab for editing headers and footers. To access this feature:
- Go to the Insert tab in the ribbon.
- Click on the Header & Footer button in the Text group.
- In the Header & Footer Tools tab, click on the Header button.
- Select the header style you want to use from the drop-down menu.
- Customize the header as needed by typing in the header text, adding page numbers, or using other available options.
Method 3: Freezing Headers
Freezing headers is useful when you have a large dataset and want to keep the headers visible while scrolling. To freeze headers:
- Select the row below the header row.
- Go to the View tab in the ribbon.
- Click on the Freeze Panes button in the Window group.
- Select Freeze Panes from the drop-down menu.
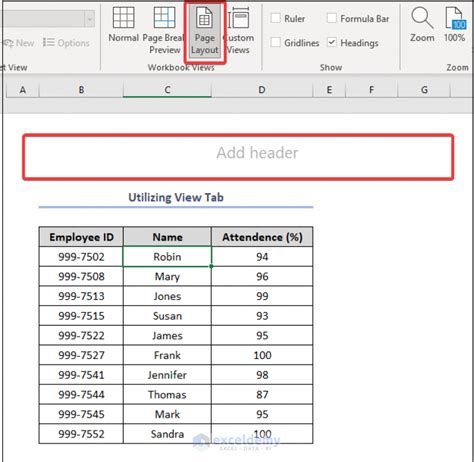
Method 4: Using Page Layout View

The Page Layout view in Excel allows you to see how your spreadsheet will look when printed, including the headers. To edit headers in Page Layout view:
- Go to the View tab in the ribbon.
- Click on the Page Layout button in the Workbook Views group.
- In the Page Layout view, click on the header area at the top of the page.
- Edit the header text as needed.
Method 5: Using VBA Macros
For more advanced header editing, you can use VBA macros. To create a macro for editing headers:
- Press Alt + F11 to open the Visual Basic Editor.
- In the Editor, click on Insert > Module to insert a new module.
- In the module, write a macro to edit the headers, such as changing the font or adding a prefix to the header names.
- Save the macro and run it to apply the changes to your spreadsheet.
💡 Note: When using VBA macros, make sure to enable macros in your Excel settings and be cautious when running macros from unknown sources.
To illustrate the different header editing methods, consider the following table:
| Method | Description |
|---|---|
| Direct Editing | Edit headers directly in the cell |
| Header/Footer Tab | Use the Header & Footer Tools tab to edit headers |
| Freezing Headers | Keep headers visible while scrolling |
| Page Layout View | Edit headers in the context of the printed page |
| VBA Macros | Use macros for advanced header editing |

In summary, editing Excel headers can be done in various ways, depending on your specific needs. Whether you need to make minor changes, freeze headers, or use advanced macros, Excel provides the tools to help you customize your spreadsheet’s headers. By mastering these methods, you can enhance the readability and functionality of your Excel spreadsheets.
What is the purpose of editing Excel headers?

+
Editing Excel headers is necessary for organizing and presenting data, making it easier to understand and analyze the data.
How do I freeze headers in Excel?

+
To freeze headers, select the row below the header row, go to the View tab, click on the Freeze Panes button, and select Freeze Panes.
Can I use VBA macros to edit Excel headers?

+
Yes, you can use VBA macros to edit Excel headers, allowing for advanced and complex changes to be made to your headers.